.png)
The Business Owners Guide to Setting Up Recurring Invoices in QuickBooks Online
- Susan Hagen
- Nov 7, 2025
- 5 min read
If you're tired of manually creating the same invoices every month for your regular clients, you're not alone. As a business owner, your time is valuable, and repetitive tasks like billing can eat up hours you could spend growing your business. That's where QuickBooks Online's recurring invoices come to the rescue.
Recurring invoices are automated templates that create and send invoices to your customers on a predetermined schedule. Whether you're billing monthly retainers, weekly services, or annual subscriptions, this feature can streamline your entire billing process and ensure you never miss sending an invoice again.
Why Recurring Invoices Are a Game-Changer
Before we dive into the setup process, let's talk about why this feature is so powerful for small businesses. First, you'll save significant time: no more copying last month's invoice and updating dates. Second, you'll improve cash flow predictability since invoices go out consistently on schedule. Third, you'll reduce the risk of human error that comes with manual invoice creation.
Most importantly, recurring invoices help maintain professional relationships with your clients. When invoices arrive predictably, customers can better manage their own cash flow and payment schedules.
Understanding the Three Types of Recurring Invoices
QuickBooks Online offers three different recurring invoice types, each designed for specific business needs:
Scheduled Invoices are the most automated option. QuickBooks automatically creates and sends these invoices according to your specified schedule. This is perfect for subscription services, monthly retainers, or any consistent billing cycle.
Unscheduled Templates save your invoice details without creating an automatic schedule. Think of these as smart templates: you can trigger them manually whenever needed, but they remember all your customer and billing information.
Reminder Templates don't create invoices automatically. Instead, they send you notifications when it's time to manually create an invoice. This works well when you need human oversight before each billing cycle.
Step-by-Step Setup Process
Getting started with recurring invoices is straightforward, but there are several ways to access this feature in QuickBooks Online.
Method 1: Convert a New Invoice
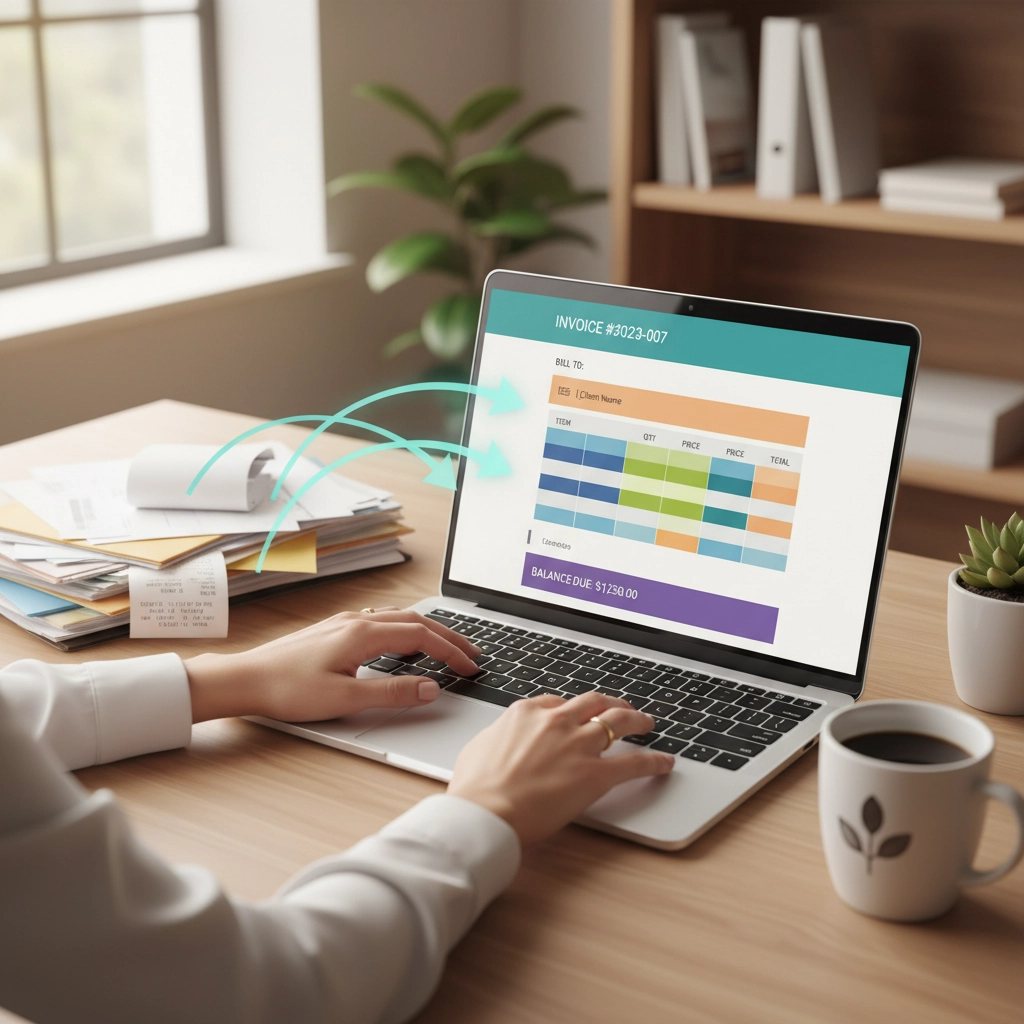
Start by clicking the "+ New" button in QuickBooks Online and select "Invoice." Fill out all your invoice details as you normally would: customer information, items or services, quantities, rates, and any applicable taxes. Once you've completed the invoice, look for the "Make Recurring" button, which typically appears at the bottom of the invoice screen.
Clicking this button transforms your regular invoice into a recurring template, preserving all the information you've entered.
Method 2: Create From Recurring Transactions
Alternatively, click the gear icon in the upper right corner of QuickBooks Online. Under the "Lists" column, select "Recurring Transactions." Click the green "New" button and choose "Invoice" as your transaction type. This method takes you directly to the recurring invoice setup.
Configuring Your Recurring Invoice Settings
Once you've accessed the recurring invoice setup, you'll need to configure several important settings:
Template Name: Choose a descriptive name that helps you identify this recurring series later. Something like "ABC Company - Monthly Retainer" or "Johnson Services - Weekly Billing" works well.
Invoice Type: Select "Scheduled" from the dropdown if you want automatic invoice creation. For most businesses, this is the recommended option.
Review Period: Decide how many days in advance QuickBooks should create the invoice before sending it. This gives you time to review and make any necessary changes. A 3-7 day review period typically works well.
Setting Your Billing Schedule
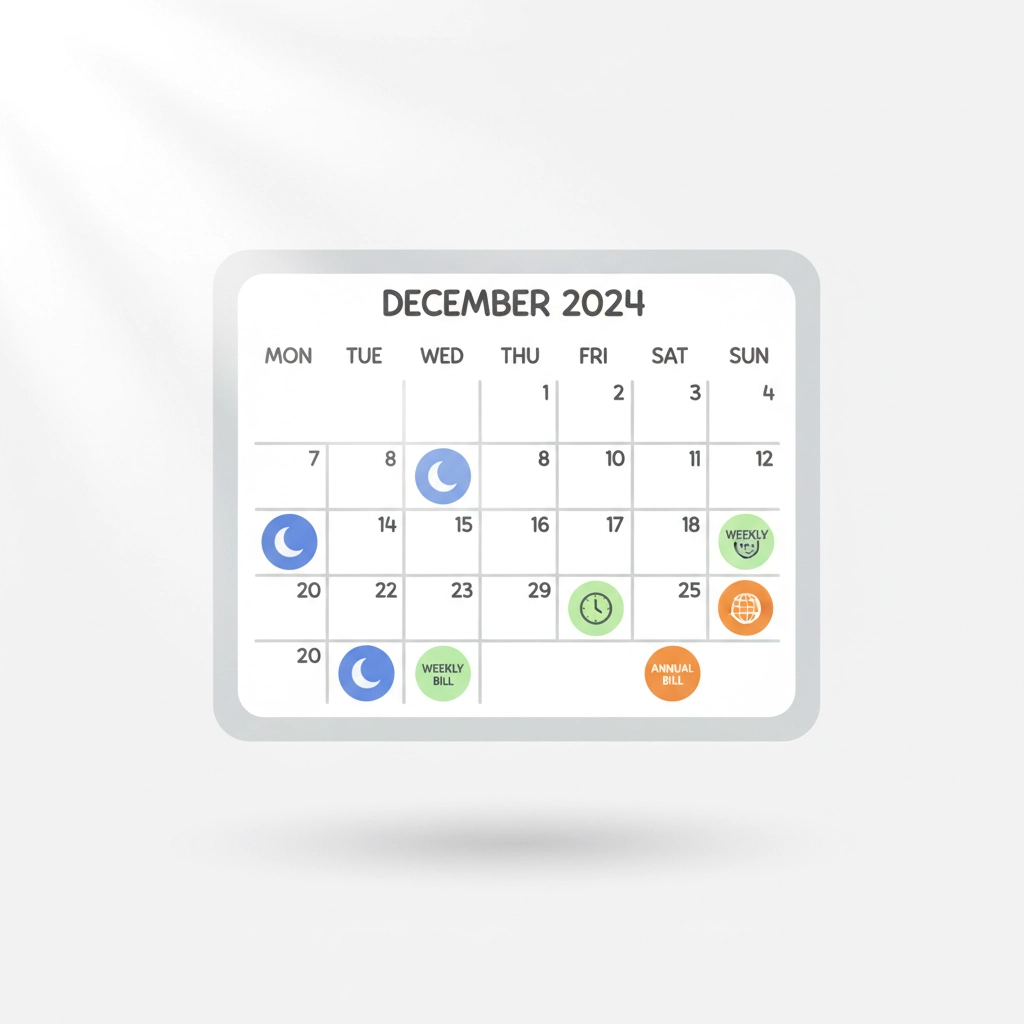
The scheduling options are flexible and can accommodate virtually any billing cycle:
Daily: For businesses that bill daily
Weekly: Perfect for weekly service contracts
Monthly: The most common option for subscriptions and retainers
Yearly: Ideal for annual contracts or membership fees
You can also specify the exact day of the month or week when invoices should be generated. For monthly billing, you might choose the 1st of each month or the 15th, depending on your preference and cash flow needs.
Pro Tip: Consider your customers' payment cycles when setting your schedule. If most clients pay at month-end, sending invoices on the 1st gives them the full month to process payment.
Enabling Automation Features
To get the maximum benefit from recurring invoices, enable the automation features:
Automatic Email Sending: Check the "Automatically send emails" option to have QuickBooks deliver invoices directly to your customers without manual intervention. This ensures invoices go out on time, even if you're out of the office.
Autopay Integration: If you've activated QuickBooks Payments and have customer payment methods on file, you can enable autopay. This automatically charges your customer's stored payment method when the invoice is generated, creating a completely hands-off billing system.
Managing and Editing Recurring Invoices
After setting up your recurring invoices, you'll want to know how to manage them effectively. Access your recurring transactions through the gear icon by selecting "Recurring Transactions." This dashboard shows all your active recurring templates.
To edit a recurring series, simply select it and click "Edit." You can modify the template name, schedule, customer information, billing amounts, or any other details. Remember that changes to the template only affect future invoices: previously generated invoices remain unchanged.
Monitoring Individual Invoices
Navigate to "Sales" and then the "Invoices" tab to view individual invoices created by your recurring templates. These invoices are marked with a special recurring symbol, making them easy to identify among your regular invoices.
You can edit individual invoices if needed without affecting the recurring template. This flexibility allows you to handle one-time adjustments or special circumstances while maintaining the automated series.
Converting Existing Invoices to Recurring
If you have an existing invoice that you regularly send to a customer, you don't need to start from scratch. Open the existing invoice and click the "Make Recurring" button. This converts the current invoice into a recurring template, saving you time on data entry.
After conversion, you can adjust the recurring settings, enable automation features, and save the template to begin your automated billing series.
Best Practices for Success
Review Before Launch: Always review your first generated invoice to ensure all details appear correctly. This prevents billing errors and ensures a smooth automated process.
Communicate with Customers: Let your customers know you're implementing automated billing. This sets proper expectations and can actually improve customer satisfaction since they'll know exactly when to expect invoices.
Regular Maintenance: Review your recurring invoices quarterly to ensure rates, terms, and customer information remain current. Business relationships evolve, and your billing should reflect these changes.
Troubleshooting Common Issues
Sometimes recurring invoices don't work as expected. If invoices aren't generating automatically, check that the template is set to "Scheduled" rather than "Unscheduled." Also verify that your interval settings are correct and that you haven't accidentally set an end date that has already passed.
If customers aren't receiving automated emails, confirm that their email addresses are correct in their customer profiles and that the "Automatically send emails" option is enabled in your template.
Taking Your Automation Further
Once you're comfortable with basic recurring invoices, consider how this feature integrates with your overall business processes. You might want to set up automated payment reminders for overdue invoices or explore QuickBooks Online's other automation features.
Many businesses find that QuickBooks Online training helps them discover additional time-saving features they didn't know existed.
Recurring invoices are just one piece of an efficient accounting system. When combined with proper bookkeeping practices and regular financial review, they contribute to a streamlined business operation that gives you more time to focus on what you do best: growing your business.
Setting up recurring invoices might seem like a small change, but the time and mental energy it saves adds up quickly. Your future self will thank you for taking the time to automate this essential business process.
Comments